To add a Post-It to a specific cart, owner, plate number, VIN, or dog, search and select the item you want to add the Post-It to. For example, to add a Post-It to an owner, select Utilities | Owner Maintenance. Search for the owner and select Edit Owner. To add a Post-It to a plate number or VIN, select the Motor Vehicle icon | Registrations | View/Maintenance. Search and select the vehicle. With the item selected, click on the gray Post-It icon.
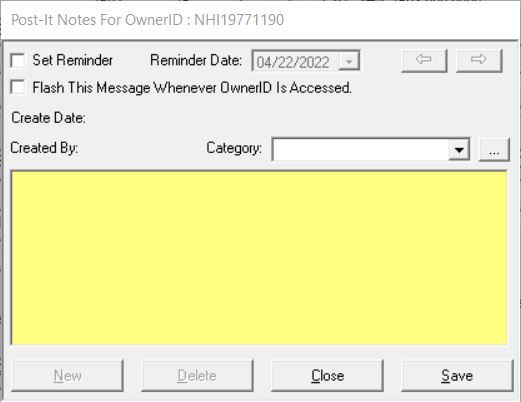
You will see the default window, ready for you to create a Post-It. For each note, you can select a Category of Post-It. For each Post-It you can also select whether you want to be reminded on a certain date. For example, you may want to be reminded when a returned payment needed to be paid by before taking additional action. To be reminded, check the Set Reminder check box and then select the Reminder Date. Finally, you can enter up to 500 characters of a message or note in the yellow Note area. Additionally, if you wish to be explicitly reminded of the Post-It whenever the record is displayed on the screen check the Flash This Message checkbox.
For example, you might use the Flash option to add an Owner Post-It to remind you that the customer must pay in cash due to several returned checks. In the future, any time this owner is selected by any user, the Post-It will automatically be displayed. You can add multiple Post-Its to a single record by pressing the New button.
If you wish to add multiple Post-Its to a single record, press the New button to keep adding Post-Its. To move among multiple Post-Its on a single record, use the left and right arrow buttons within the Post-It dialog box. To delete a Post-It, display the note to be deleted (using the left and right arrow buttons if multiple Post-Its exist on a record) and then press the Delete button.